
The recent calls to shelter-in-place and maintain social distance to attempt to spread out the Covid-19 pandemic happen to have corresponded with my [Adam] children’s spring break from school, so it turns out the whole family was home! This, along with our still getting comfortable with our now 3-generation family and new townhouse, resulted in this week-long project to expand the available gardening space.
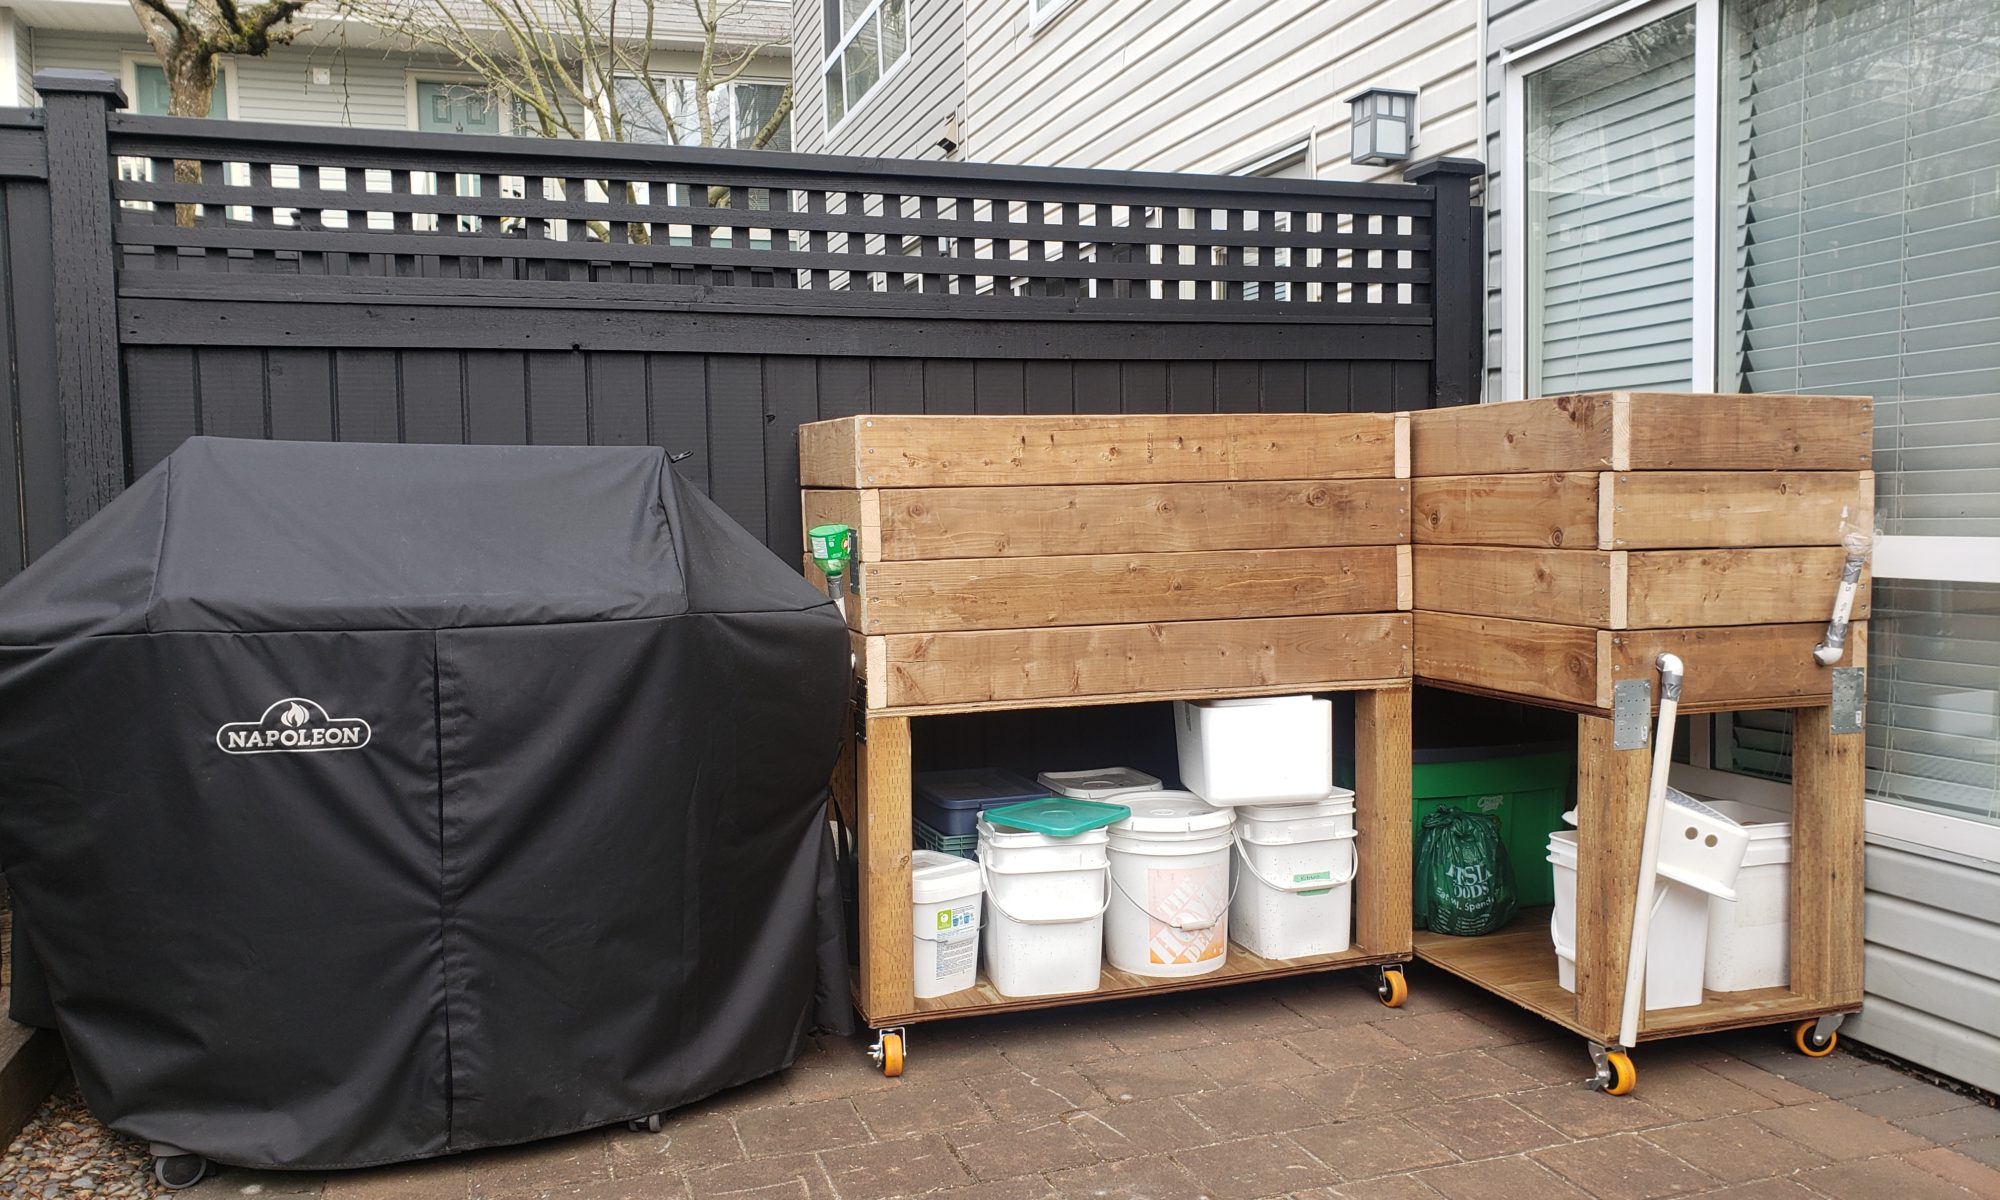
Taking inspiration from this Self-watering raised bed design, combining it with our need for neater storage in the back yard, leads to the 2 planter boxes you see in the main picture.
We settled on this design and the specs after some interweb searching led me to that style of SIP design and the ease of which it’s expandable and customizable. That link was clear with a good video so it was mostly what I was following. Giving it wheels was important so the patio remains easily cleanable. The amount of storage space underneath was basically just estimated by the height of 2 milk crates plus a bit of extra space. It ends up being 23″ [inches] of storage underneath. 2′ [feet] wide was the recommended maximum for raised beds, to allow most people to reach the whole bed from the same side, and 4′ was just the easy math from the usual 8′ lengths of source material.
After many hours price and availability checking of the necessary bits-and-pieces from the local stores, we went to the “hardware store” and picked up our supplies.
Pressure-treated 3/4″ plywood, cut into 4, 2×4′ sections. 
2 pressure-treated 4×4″ posts, 8′ long. 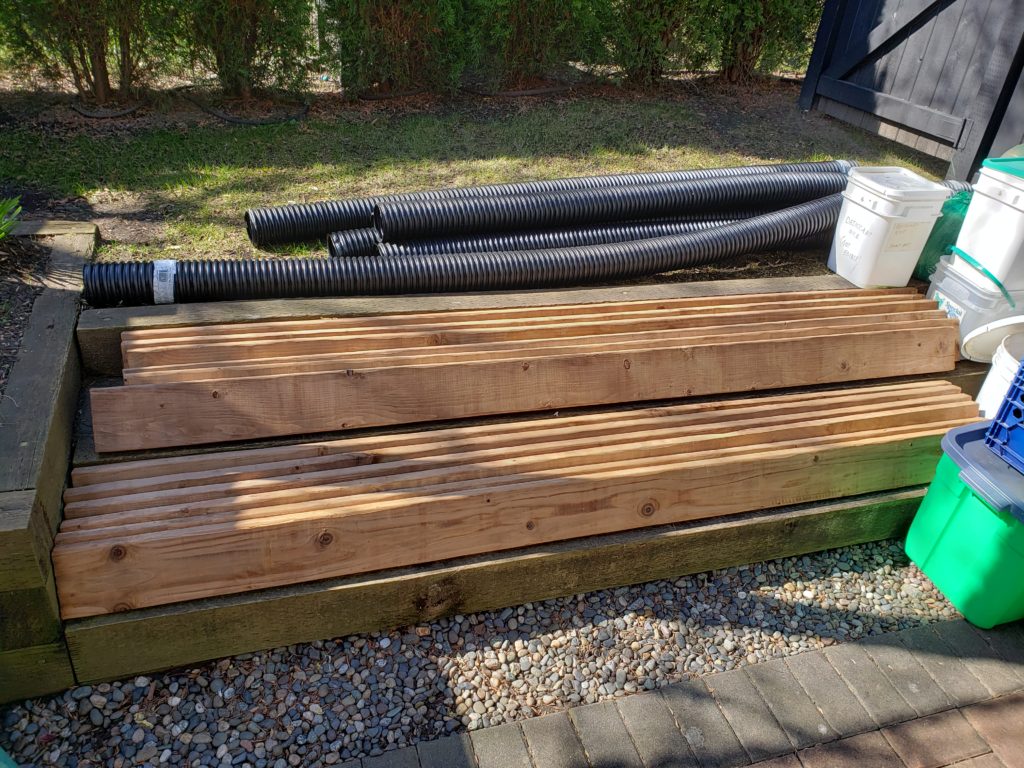
12 pressure-treated 2×6″ boards, 8′ long.
We also bought some castors (3″, 225lb rated each), some mending plates to hold the levels together, waterproof duct tape, a roll of garden fabric, some 3/4″ PVC pipe and elbows, and hundreds of screws (#10, 2.5″ and #8, 1.5″).
The first job was to cut the posts and get the base+storage part built. Relatively simple, cutting 4 inch thick posts with a small circular saw is a sub-optimal experience, but the cuts were smooth enough, if not exactly smooth. This was about where the first day’s construction finished. (We actually didn’t get the wheels on until the beginning of the next day.)
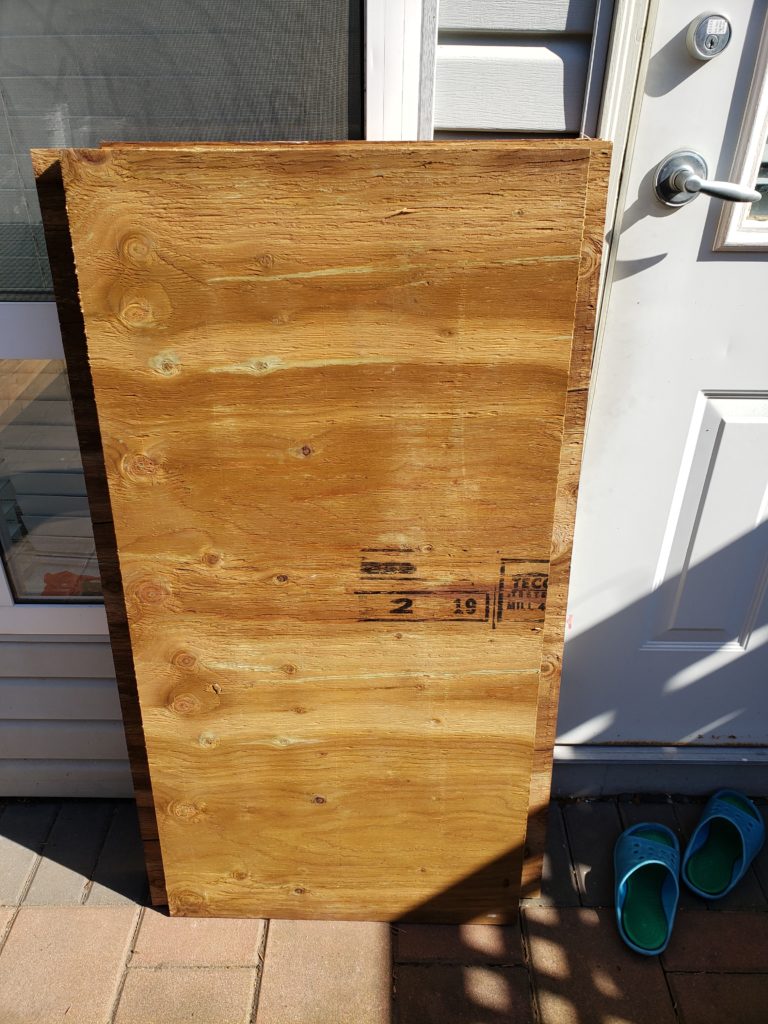
The plywood and some cut posts. 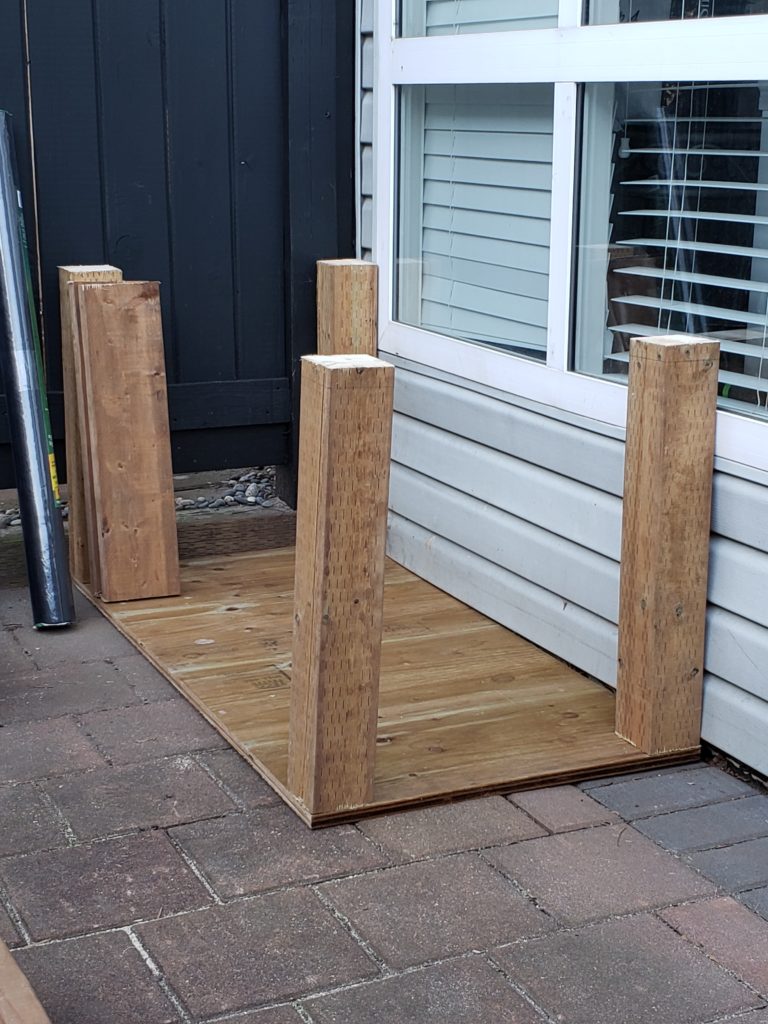
The first planter base missing it’s wheels. 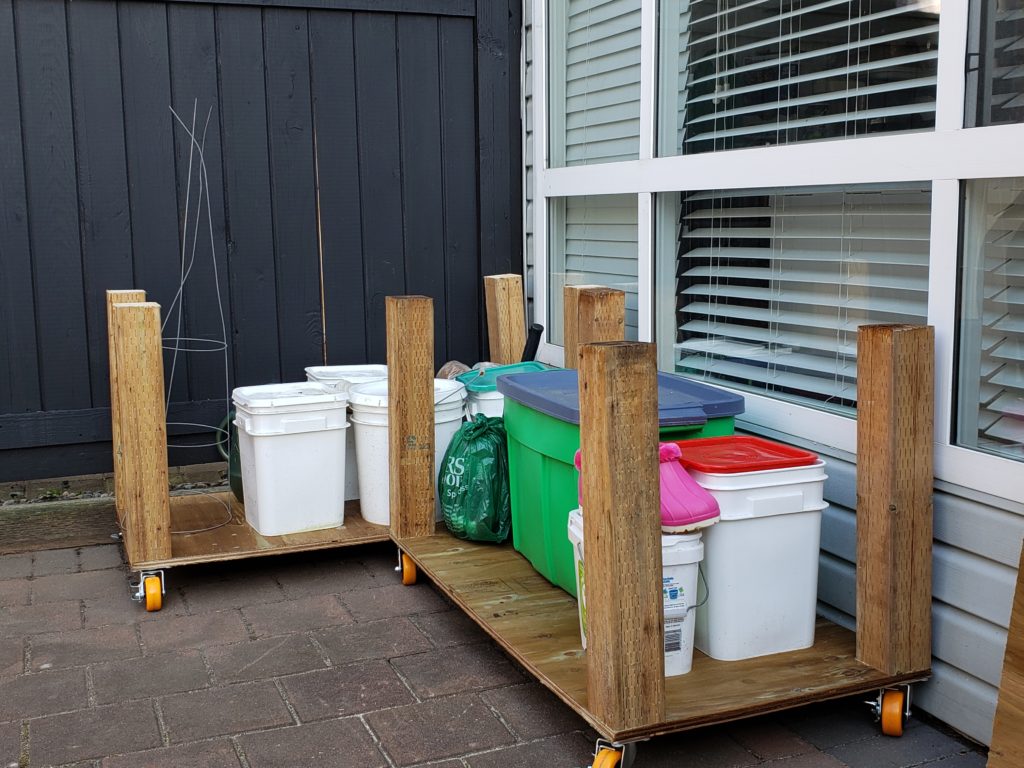
2 finished planter bases.
The next day, to minimize the amount of cutting noise that would be spread out, we decided to do most of the noisy cutting all at once. (There is also a neighbourhood baby that needs their nap in the afternoon, so we took a break during that time to give the family as big a sleep window as they could get). The 2×6’s were cut into either 46.5″ or 22.5″ lengths, to achieve an overlapping effect on each corner. 8 of each length is needed for each planter.
I mocked up what the first level would look like, and then we cleaned up for the day. Things were starting to come together!
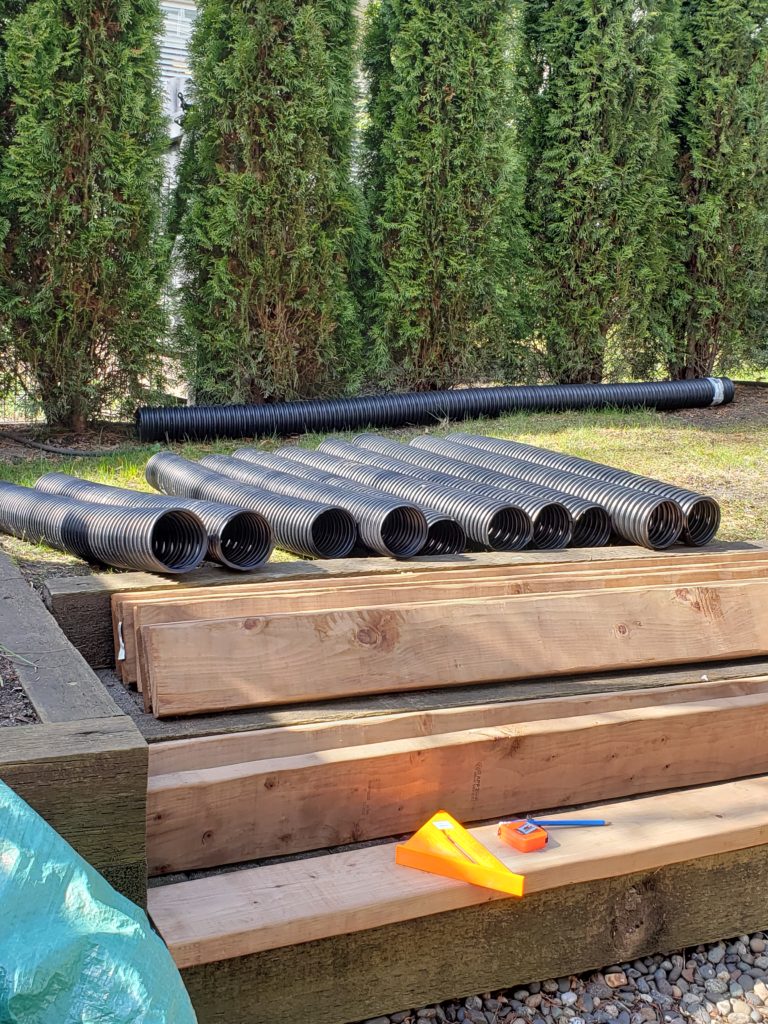
Planter drainage pipes, cut in 45′ lengths and the slowly dwindling pile of 2×6 boards. 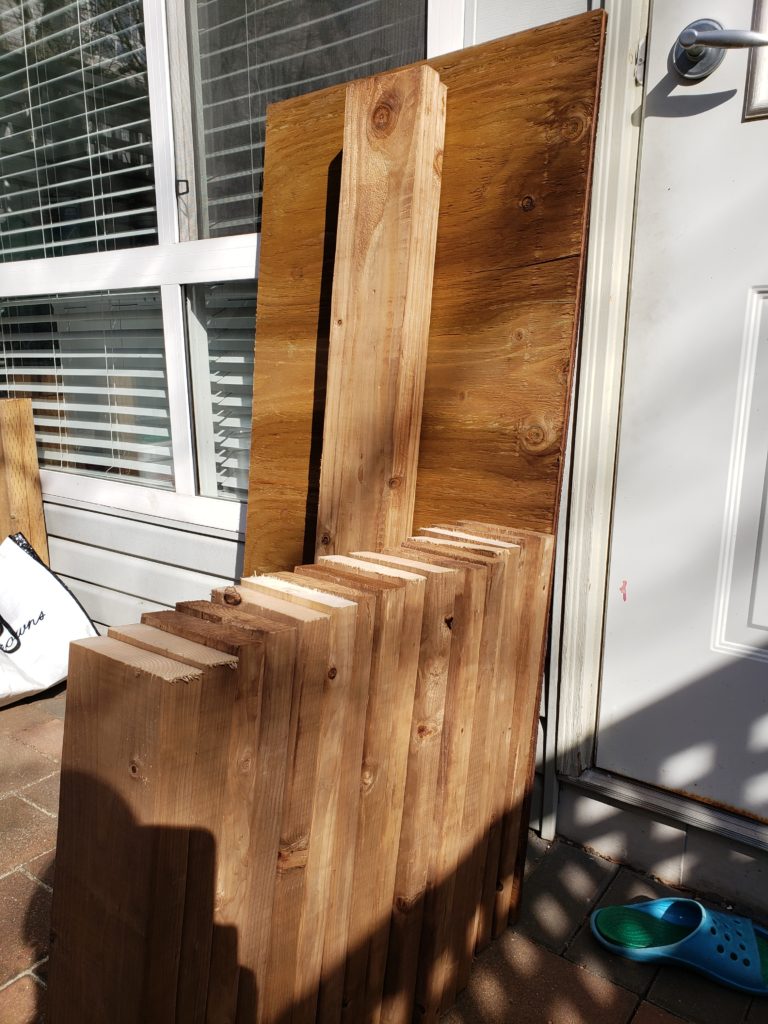
The slowly growing pile of cut materials. This specifically is after all the short side pieces were cut. 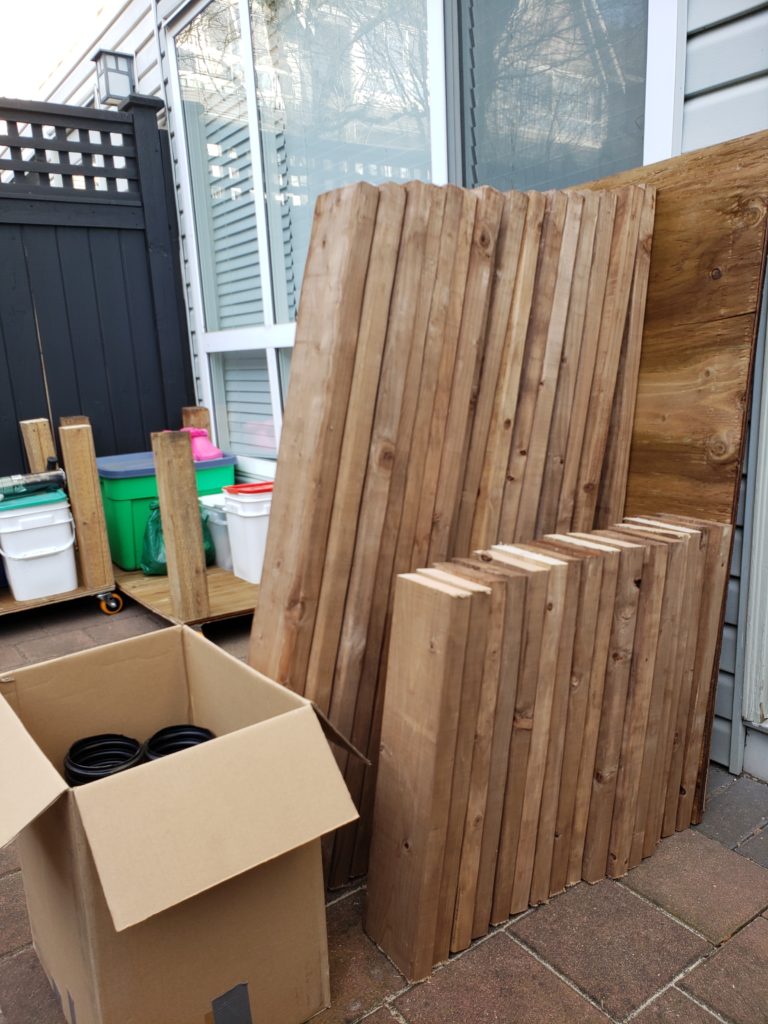
The complete pile of cut wood, and the scrap box. 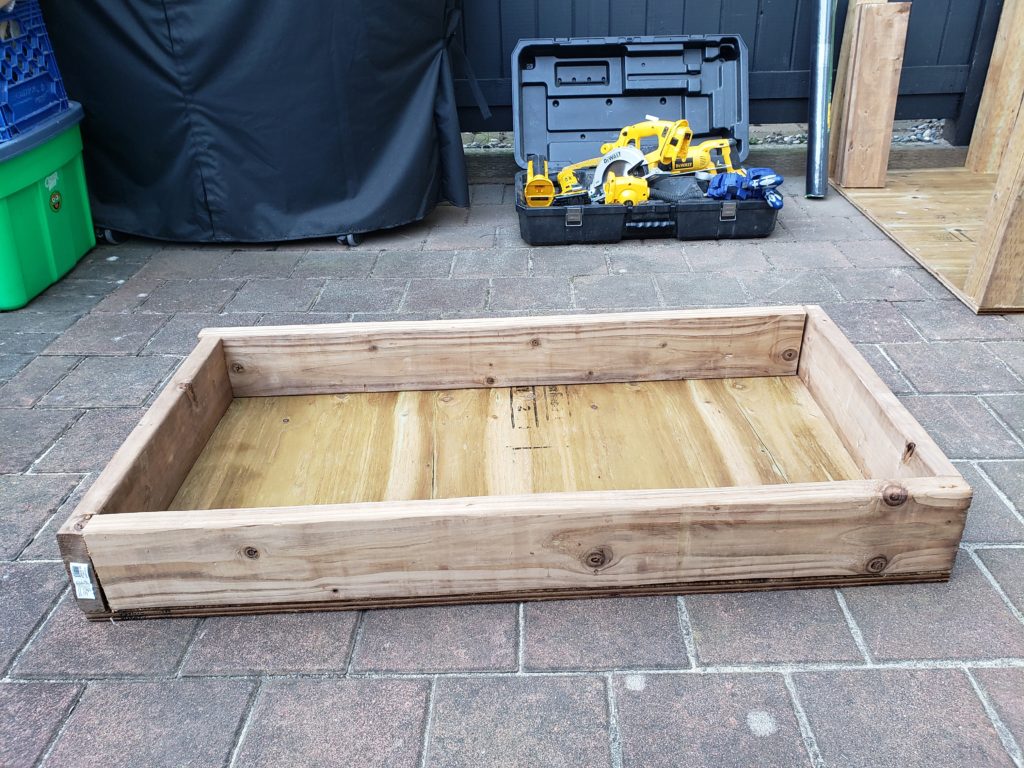
A mocked-up version of what the first planter layer is meant to look like. 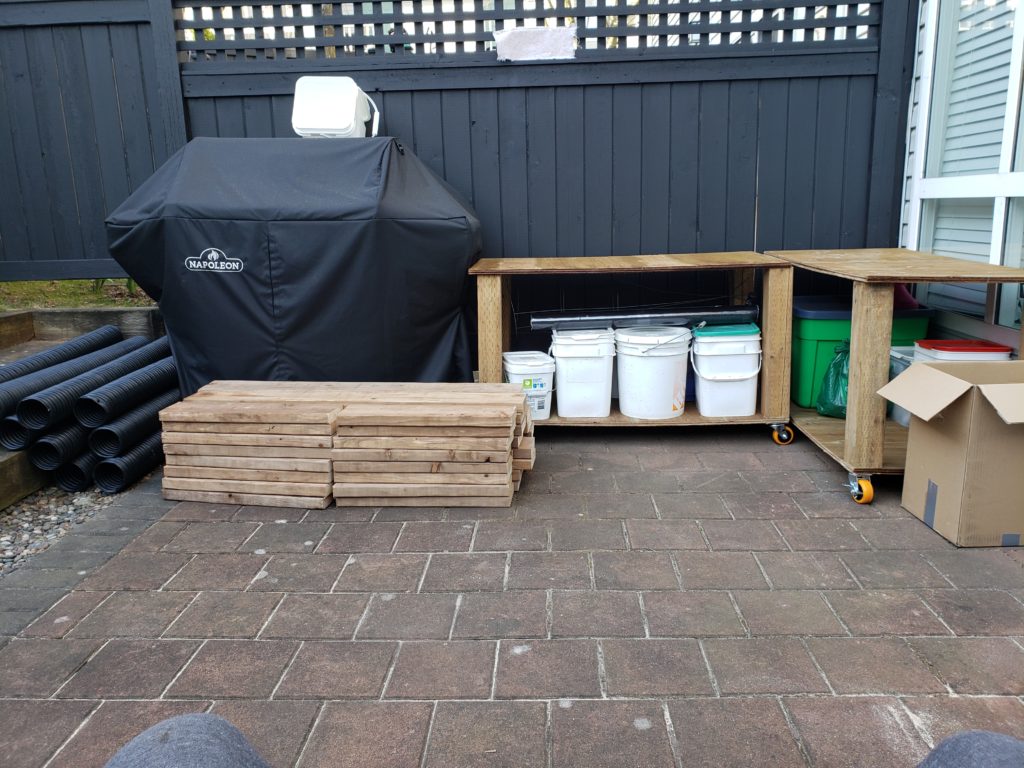
The patio cleaned and ready for what tomorrow brings.
Construction day 3 involves clamping together a lot of corners. It must have been dozens! 😉 And then attaching some of those layers together with mending plates and hundreds of screws. I had planned on doing the mending plates on the outside, but my Significant Other corrected me by pointing out they could be done on the inside and it would look much nicer.
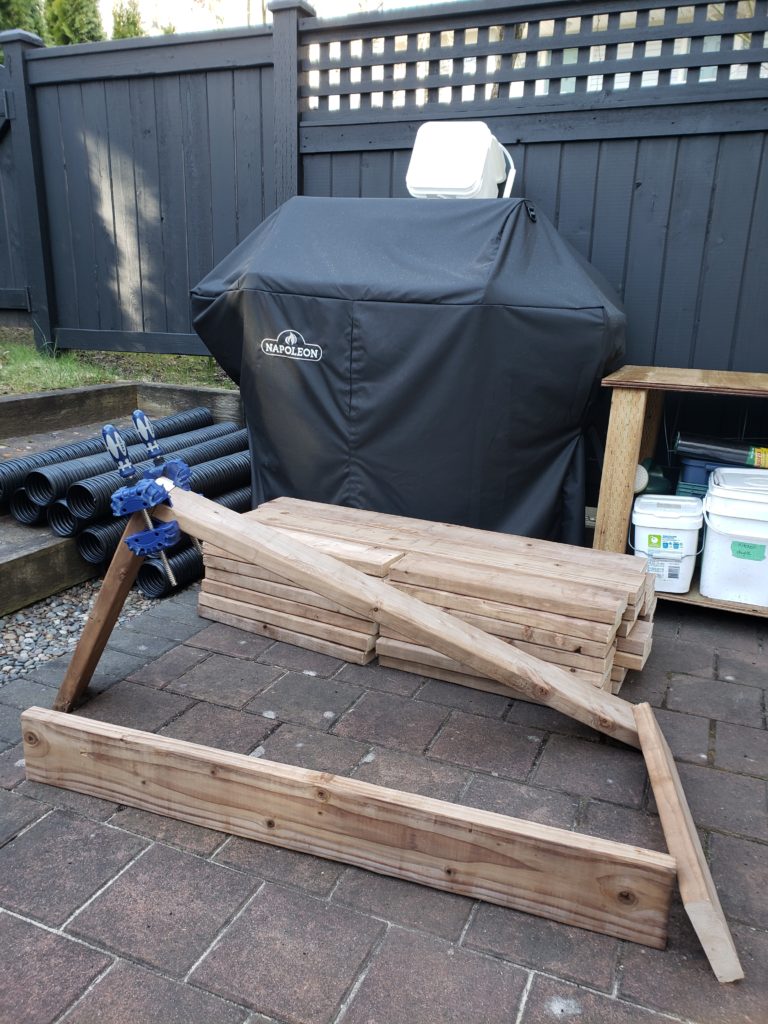
Showing how the corners were clamped together for screwing. 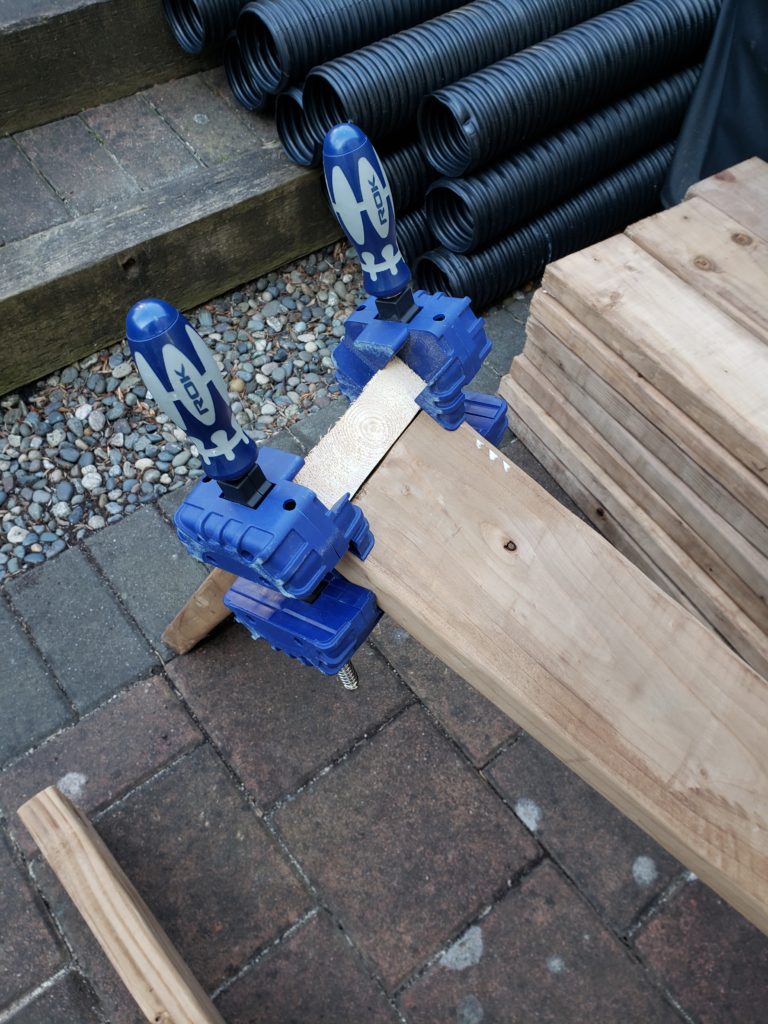
Another angle showing how the corners were clamped together for screwing. 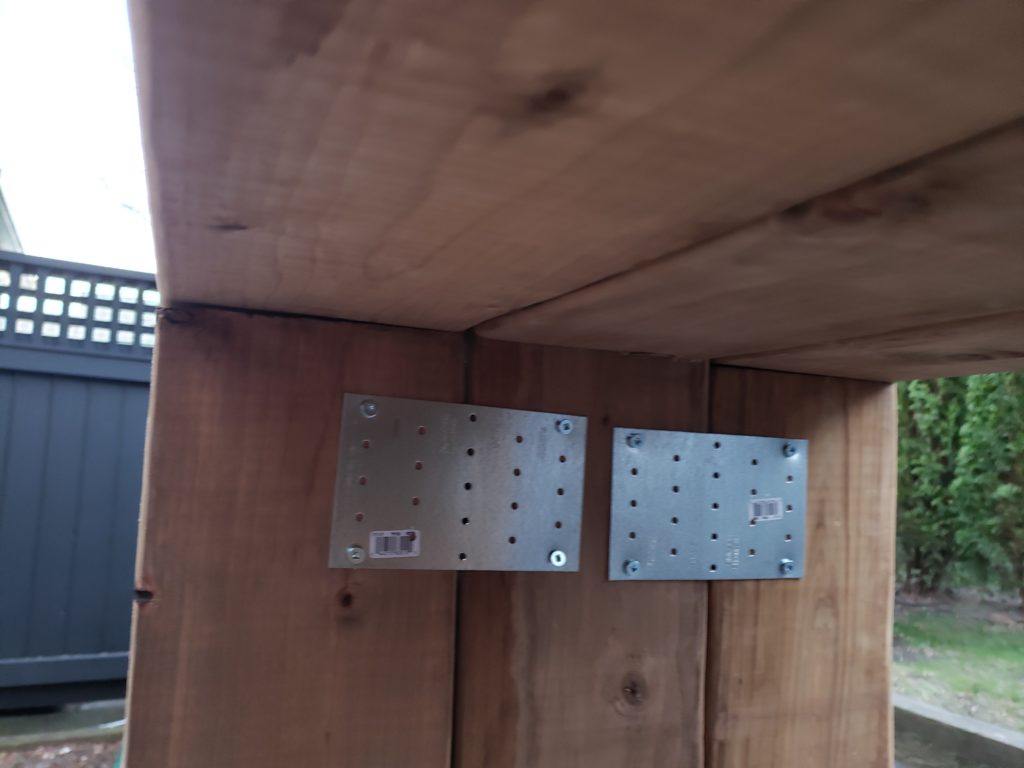
The layers were joined inside using mending plates and screws.
Day 4 is where everything really started to come together. We had finally found a local source for a hopefully suitable pond liner and all the other jigsaw pieces were together as well. We started by building the base layer of the planters and attaching them to the top of the posts, stabilizing the storage area and beginning the planters proper.
Holes for the fill and drainage tubes were cut, as AlboPeppers noted about 3.25″ in from the sides. I wanted these holes to be about 1.25″, in order to make space for the PVC and some of the liner, so I went up from the bottom about 3.25″. I drilled a small pilot hole from the inside, and then used a spade bit from the inside and the outside to make the final holes. If you start the holes in both directions, then when the bit breaks through in the center it keeps the edges of the holes much neater.
6″ squares were also cut from the garden fabric, and then duct taped over the open ends of the cut drainage pipe. This stops the potting mix from filling up the drainage pipe, but still lets air and water circulate as it wishes.
The planter base is screwed into the centerish of the 4×4″ post. 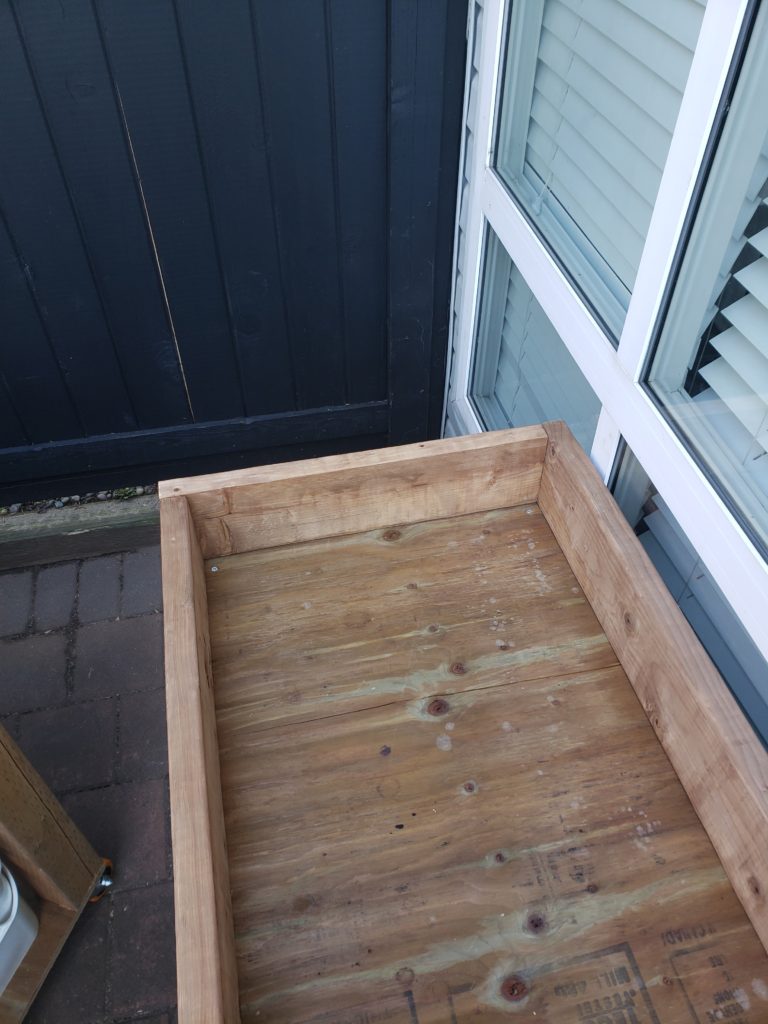
A finished planter base. 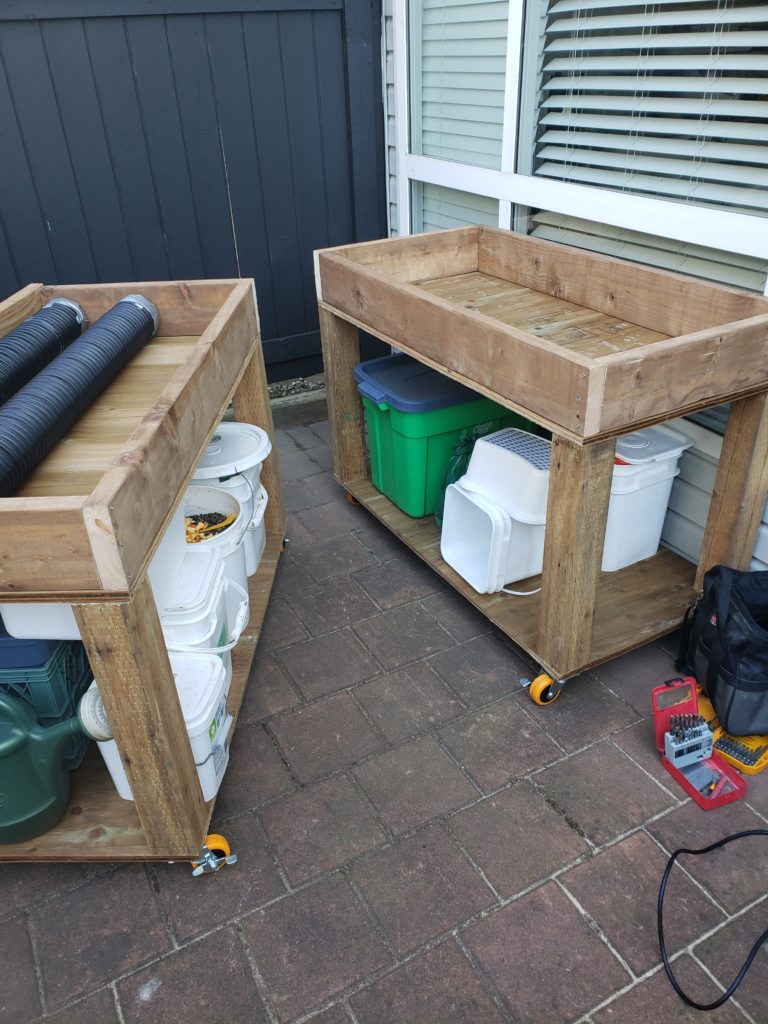
Day 4, both planters with finished bases and storage with some of the drainage pipe. 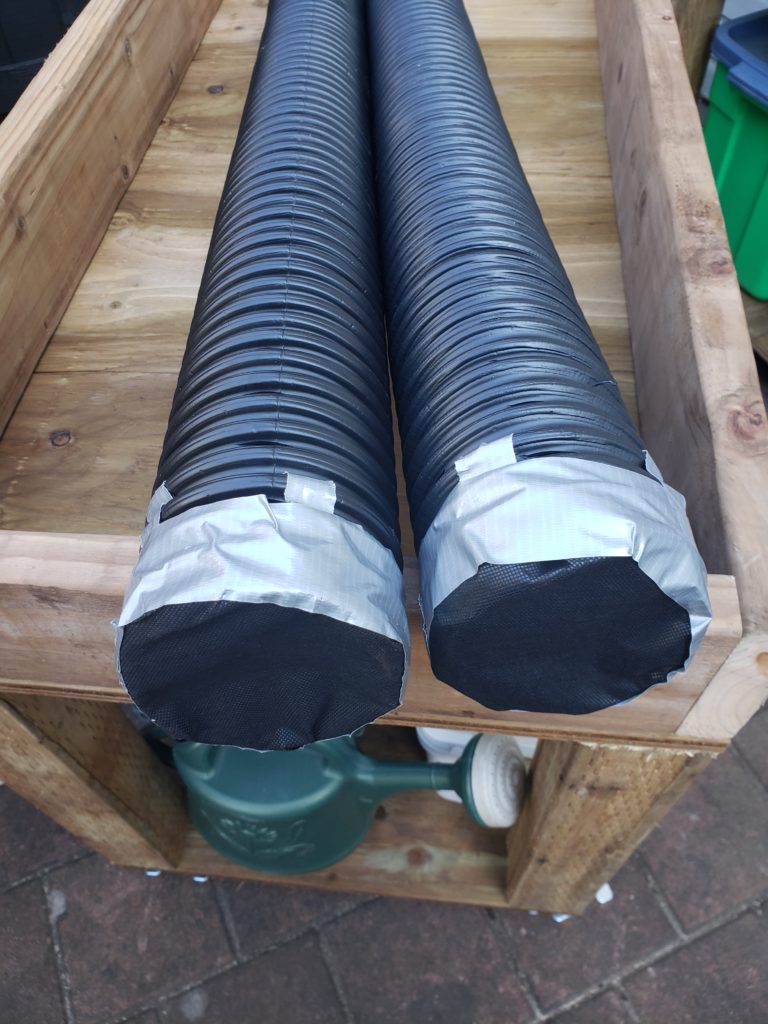
The drainage pipe for the planters, with the open ends sealed with garden fabric duct taped on.
We then laid the entire structure on it’s side, and attached the 3 upper planter layers to the base layer with mending plates inside as before. Then we lifted these now heavy beasts onto their wheels. We also strengthened the connection between the posts and the base layer using mending plates, but these had to be on the outside, alas.
Next up was cutting the large sheet of pond liner into our 2 necessary 8×6′ sizes. You want enough to cover all of the inside so it’s waterproof like a pool basically. Since the sides are approx 2′ high, adding 4′ to the base dimension (either 2′ for the short sides or 4′ for the long) results in that 8×6′ size. The pool liner came in a 10×15′ sheet, which is larger than the area of my entire back ‘yard’, so cutting it to size required doing it while mostly folded. I unfolded it enough to figure out which dimension was which, and then cut it into a 15′ x 8′ sheet, and then cutting 2 8×6′ pieces out of the 8×15′ chunk. These were finally folded up in order to help placement inside the planters.
We unfolded them, and then slowly worked our way around stapling and folding and stapling and folding, until we ended up with something that looked like this:
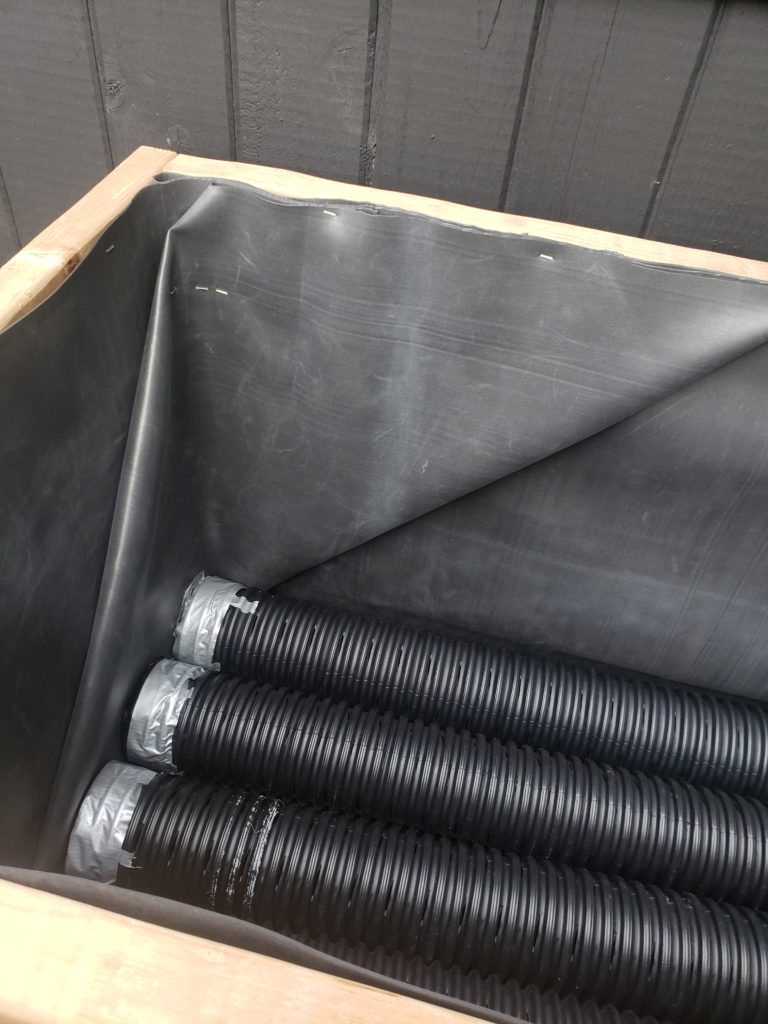
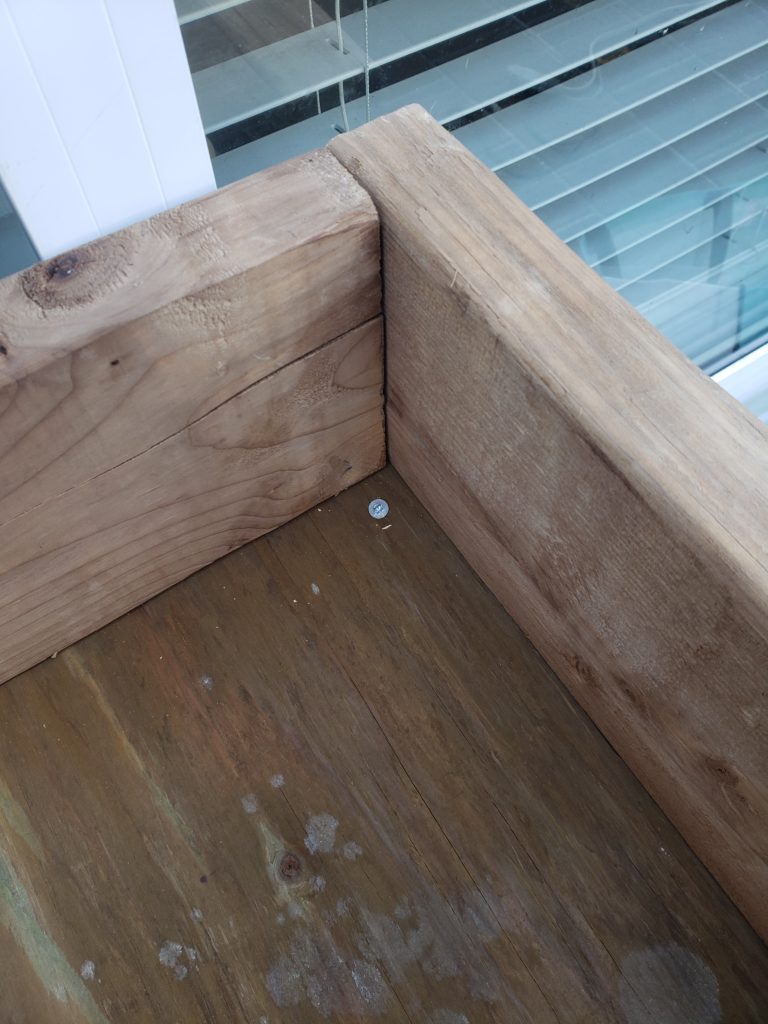
One corner of the how the liner is folded and stapled into the planters, as well as the drainage pipes. 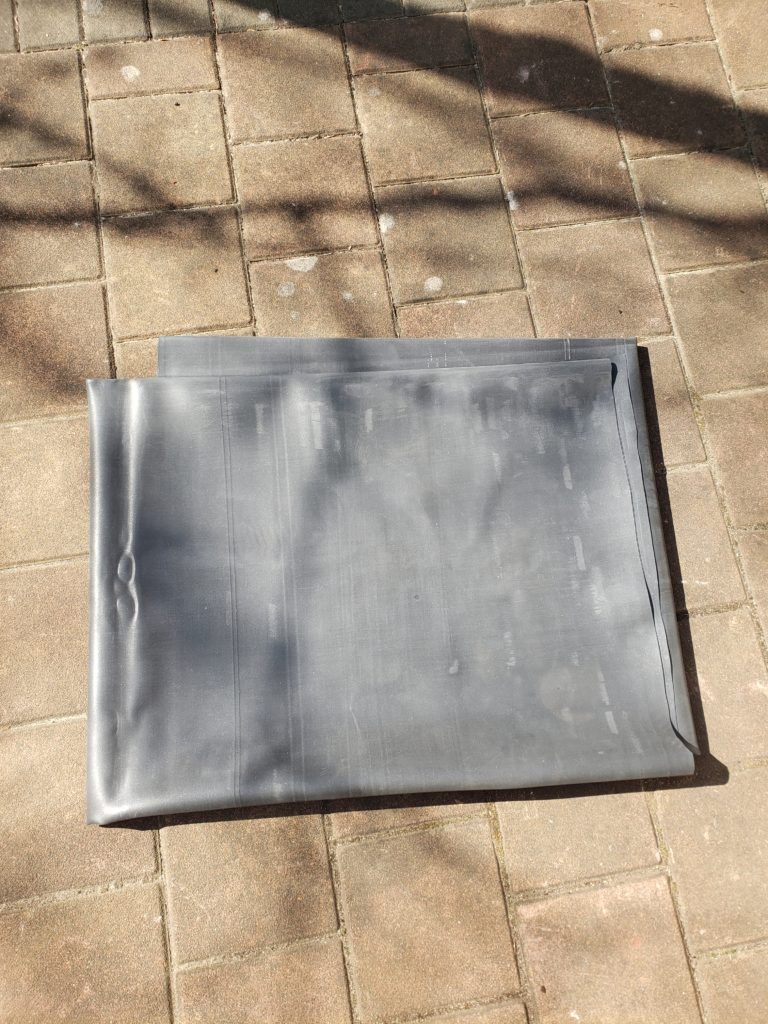
10×15′, 45 mil thick, pool liner. It’s much, much heavier than it looks.
The end being almost in site, the PVC was cut, first into 4 approx 6″ pieces for the fill and drain in-planter segments, and those were duct-taped to elbows. We didn’t want to glue the PVC together on purpose because this is a new design and we want to make sure it’s flexible and open to changes and upgrades still.
The liner was cut at the drainage holes in the base layer, and the PVC was pushed through from the inside, pushing the liner into the hole to fill it as much as possible. It’s then taped on the inside to secure it in place and keep leaks to a minimum, and taped to the elbow facing the desired direction on the outside. 4 of the drainage pipes had small holes cut in the fabric to allow the PVC to pass through, then all of the pipes were installed in their final locations.
Fill and drain tubes were cut from the remaining PVC, one longer and hiding behind the BBQ off a 45° elbow, and the rest on 90° elbows. Pop bottles were cut and duct taped to the tops of the fill tubes to act as funnels. And finally, they had 3 massive bags of potting mix, as well as 1.5 buckets of compost each, added to them. The first bag you add to the planters, make sure you spend a lot of time tucking the potting mix between the drainage pipes, they should be basically surrounded by potting mix. It’s the mix that wicks the water out of the drainage pipes up to the plants roots, so you want to maximize the contact between mix and drainage pipe.
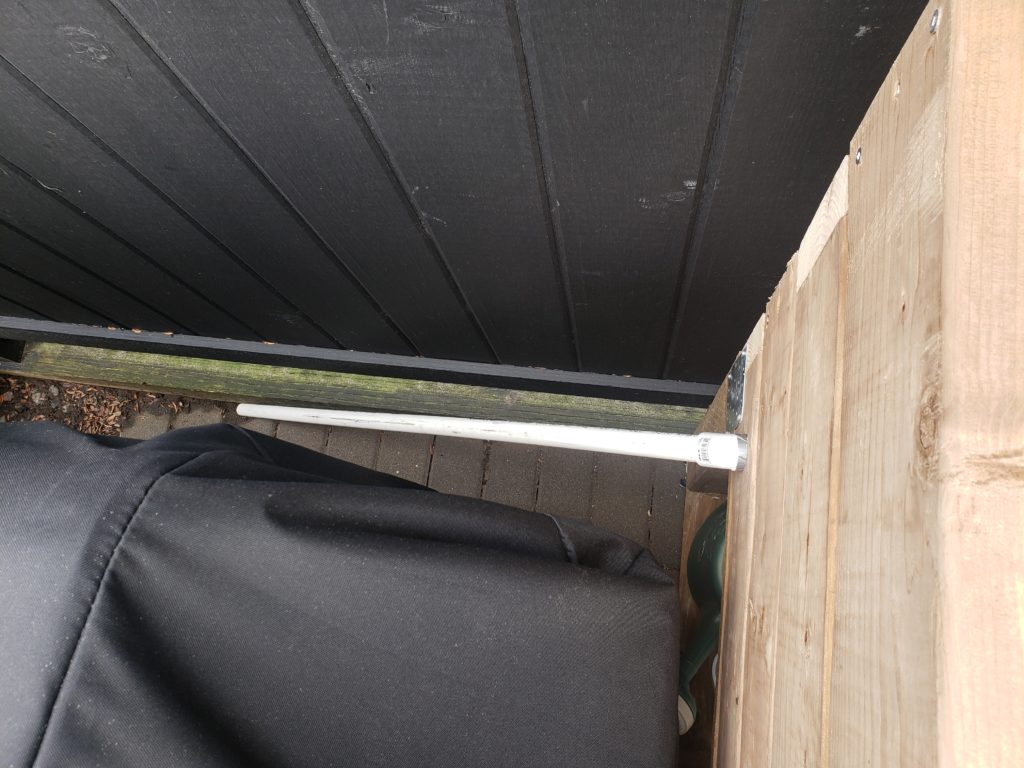
Planter draining behind the BBQ. 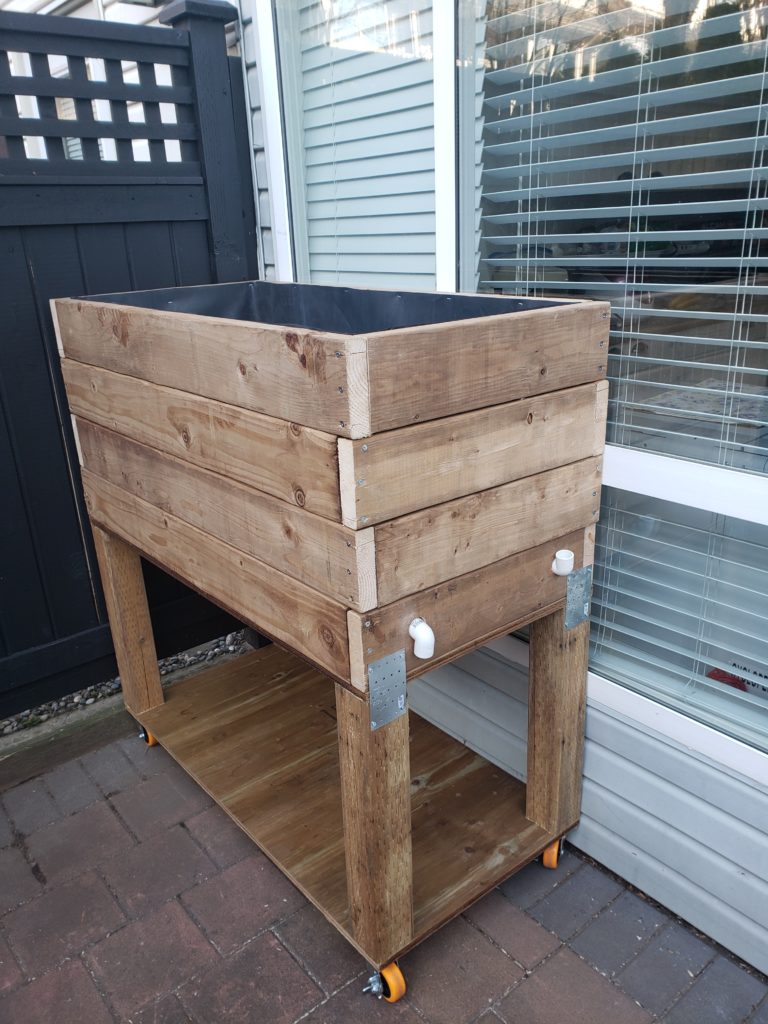
A lined-and-piped planter, nearly finished. 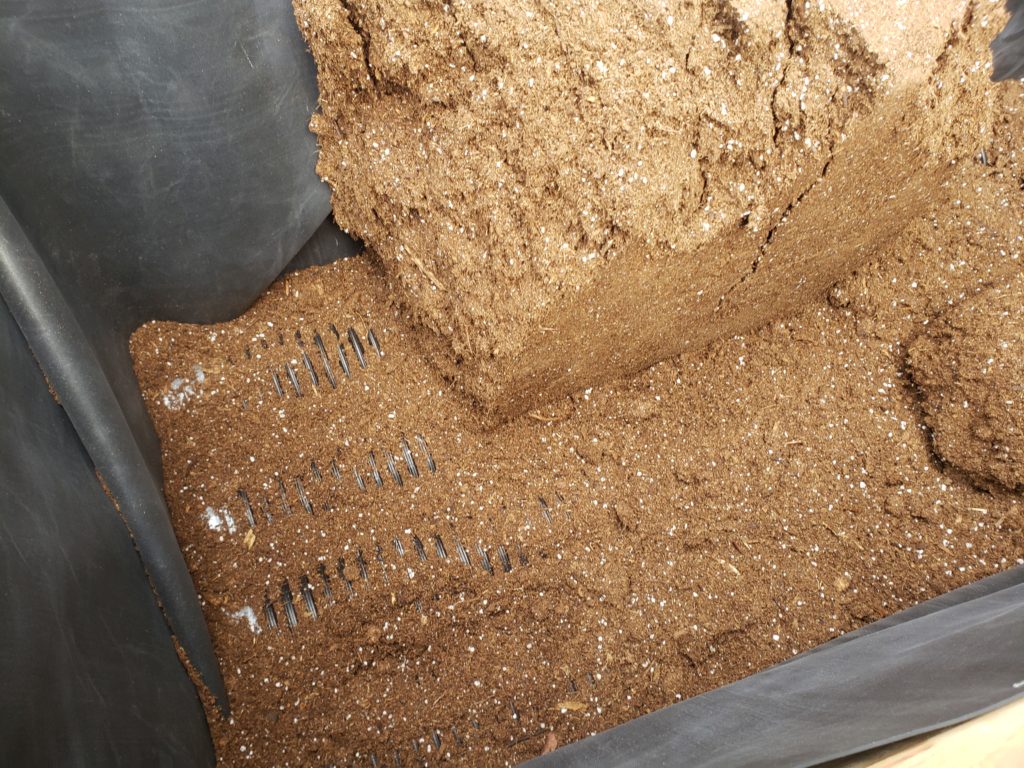
Showing the drainage pipe surrounded by potting mix. 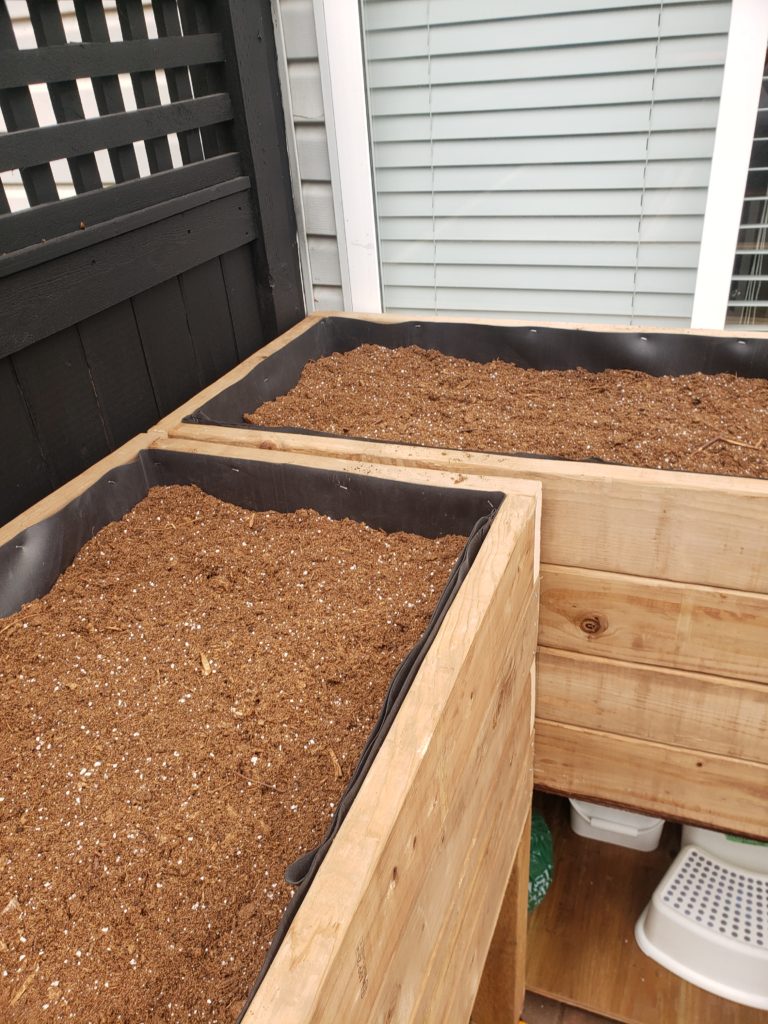
The planters almost full, with 3 large bags of potting mix in each one.
We’re looking to get some local worm castings to add to the planters, and we knew they would settle when first used or even watered, so we haven’t bothered to fill them right to the top yet. And my Mother-in-Law won’t tell me what she wants to plant in there, so I guess you’ll have to wait like the rest of us!
One Reply to “Planter Project”