
I’ve been a fan of vermicomposting, or composting with worms, for many years. I can’t remember how I first heard about it, but one of the first non-internet sources I found was “Worms Eat My Garbage” by Mary Appelhof. I made a few worm bins, and dove in! There were many ups and downs, and I had stopped doing it for ages, but with the move to the new home and the bigger garden and patio, it seemed the perfect time to start again.
So I dug up my old bins, both Rubbermaid tub construction made from 37L and/or 53L roughneck totes.
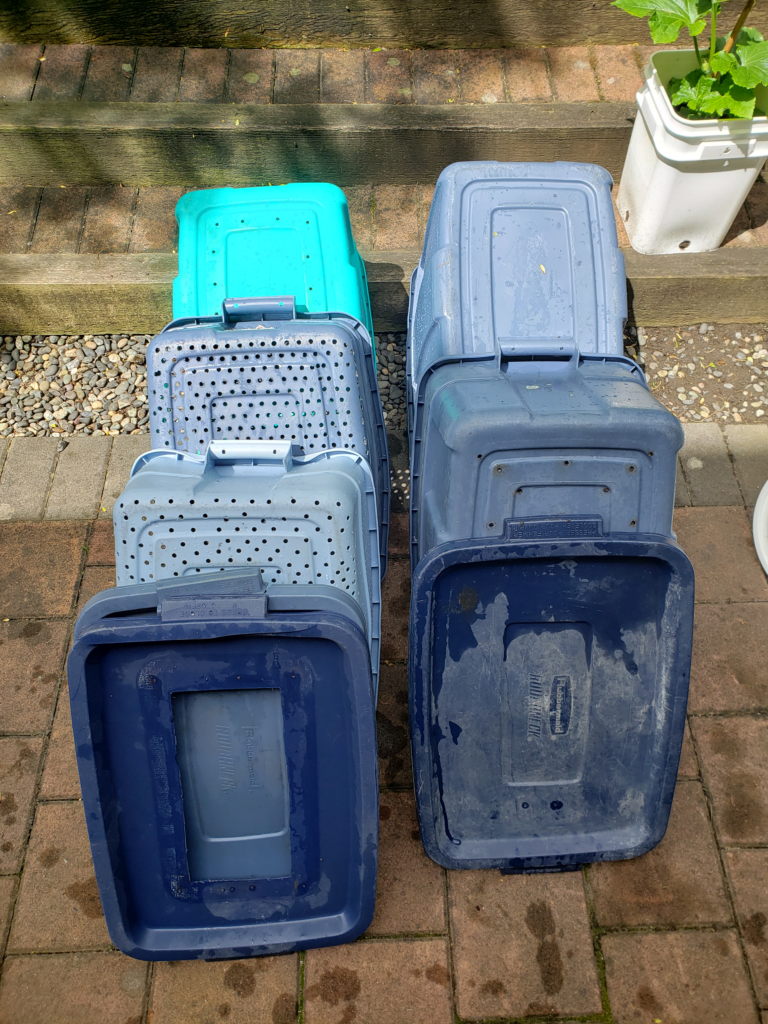
One is a stacking unit, made from 2 37L tubs and one 53L tub, and 2 lids. The 37L tubs have holes drilled all over the bottom. This not only allows excess liquid to drain into the 53L tub underneath, but it allows the worms to move up to a new bin. When the bottom bin is full and getting ready for harvesting, you place the 2nd, empty bin on top and start it as your new bin, filling as usual. When the worms run out of food in the lower bin, they naturally move up into the upper bin so you don’t need to do as much hand transfer.
The other is simply a large 53L tub with 2 lids. It’s started the same way, and just allowed to get full and then is harvested. I’m not sure if I’ll be doing this one all at once or harvesting half at a time and feeding the empty half. Time will tell.
The lids are both made from 2 Roughneck lids. The bottom one with a large hole in the center, covered with mesh or screen so critters can’t get in or out, but allowing some air exchange. The top one just a normal solid lid. They are separated by wood strips about 2-3 inches thick, with another wooden strip on the bottom to be screwed into.
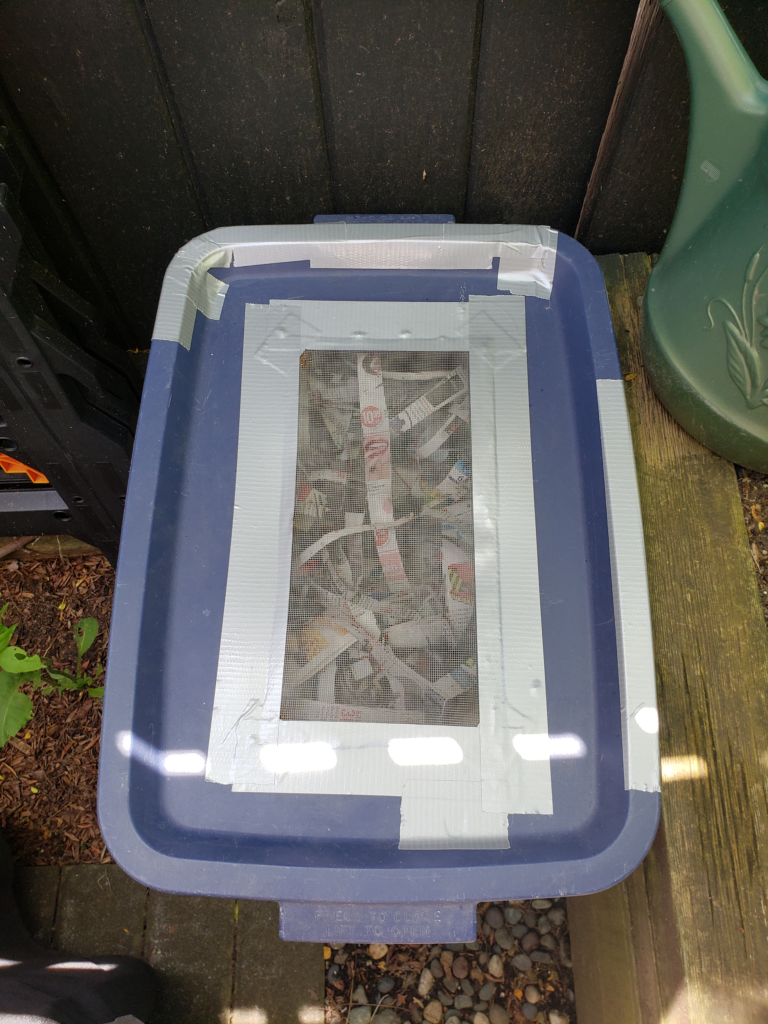
A finished worm bin, with vented lid, showing the top cover of shredded paper through the mesh vent hole. 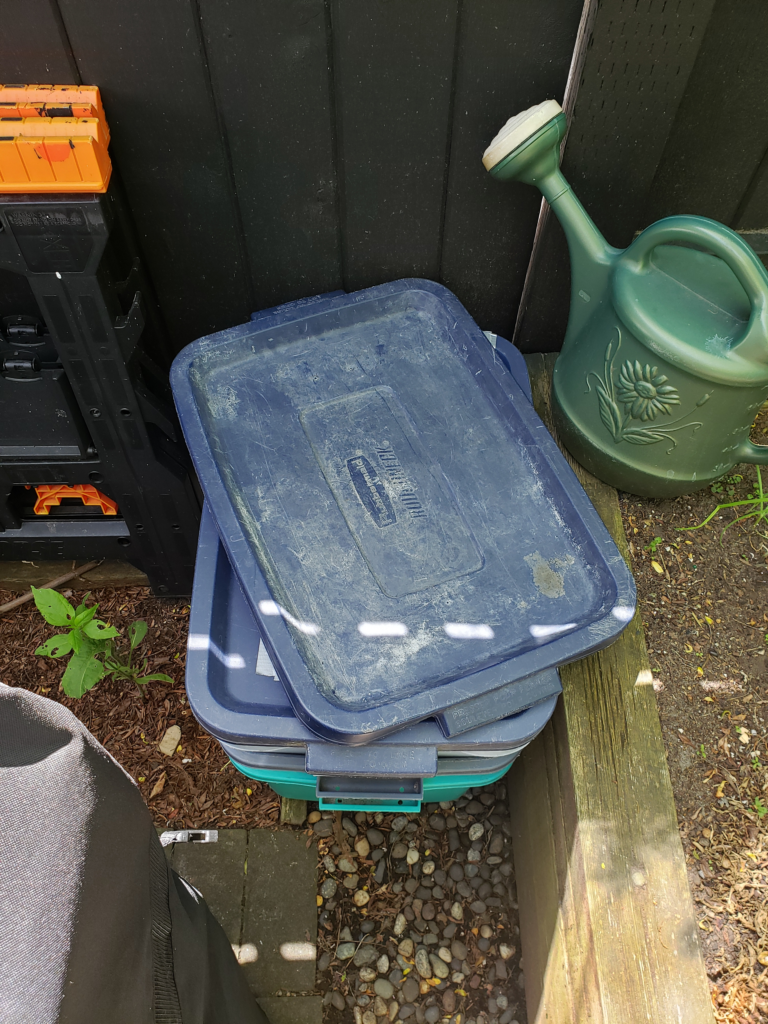
This is a temp stacking lid, while I waited to cut the wooden strips at work. 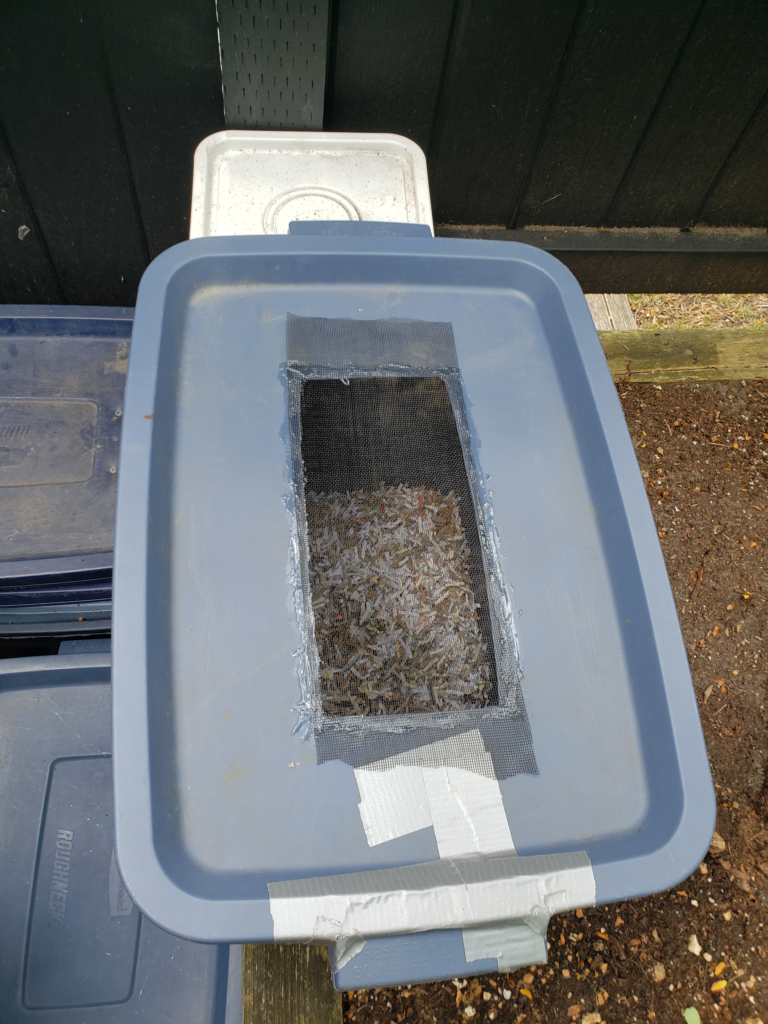
Started preparing the 2nd vented lid. This one is shoe-goo’d down, and when that dries a bit duct tape will be applied to the ends. 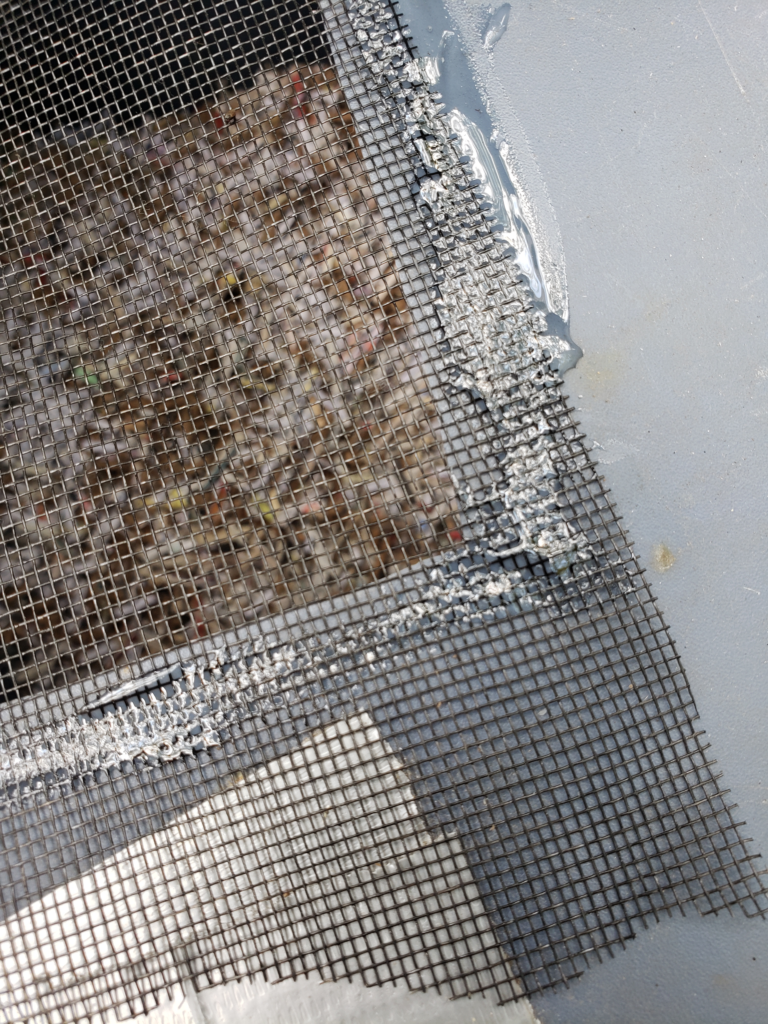
Close-up of the 2nd vented lid.
To start a worm bin, the first layer is dry, ripped or shredded paper. This is the main bedding for the worms, as well as “brown” compost layer for the unsung bacteria that do most of the work that the worms take all the credit for. Dry leaves and other browns also fill this role very well, if you happen to have an excess of those.
Then you add about 5 gallons worth of worm compost from an active bin. This will help to seed your new bin with those beneficial bacteria and get the bin jump-started.
Next are the worms themselves! Spread them out around all the compost, they’ll all make themselves at home soon we hope.
Give the bin a bit of food, not the normal feeding but a large plastic tub worth (approx 1lb) will do at this stage. Dig it into the mixture more than I did in the far picture below.
And finally top with more shredded paper. This will be your main water collection and bug separation layer, so treat it well and make sure you top it up regularly with more shredded paper. It should always be damp, not too wet or dry.
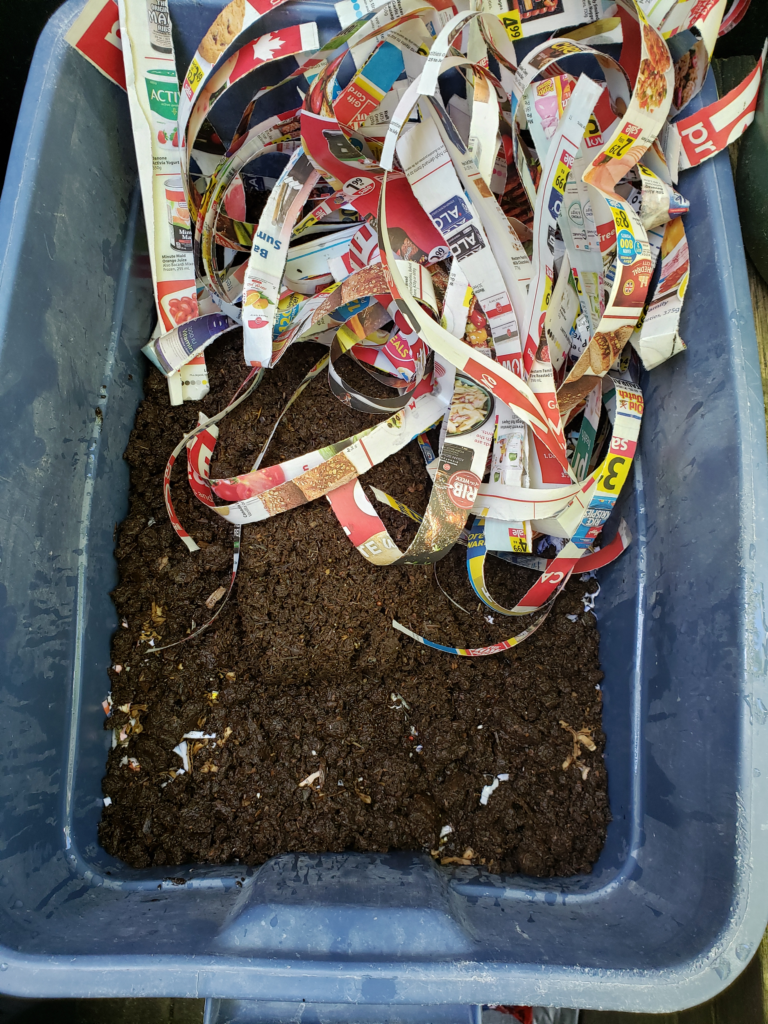
Approx 5gal of castings, on top of a layer of shredded paper, with approx 1 lb of worms and bedding. 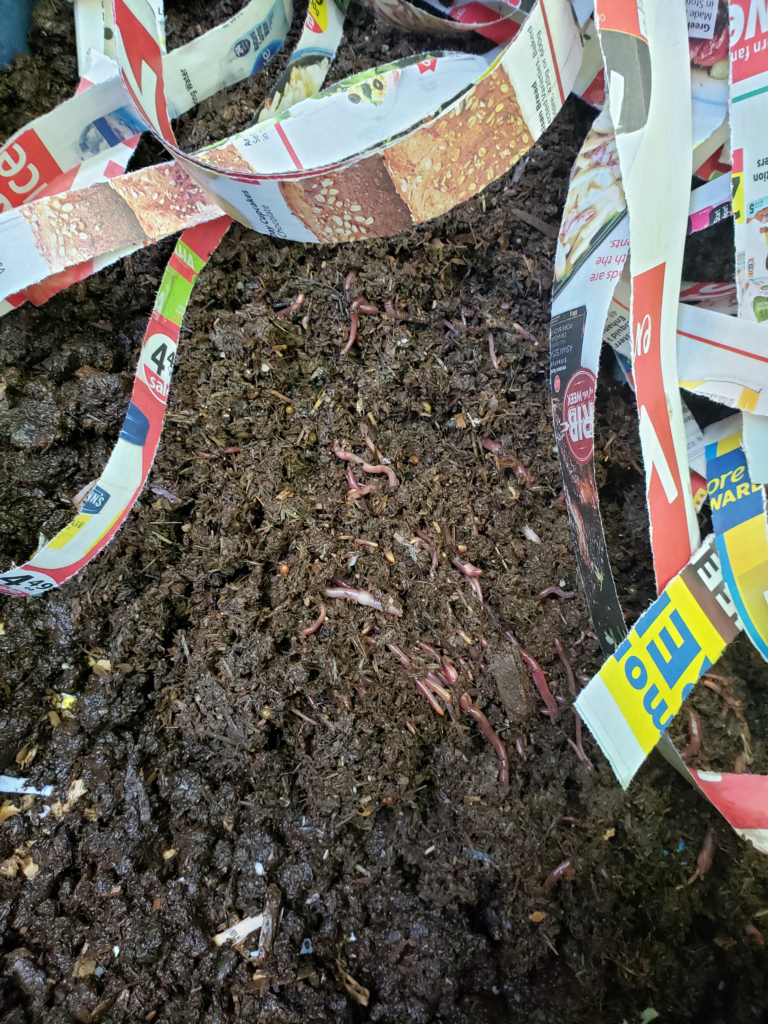
A close-up of the starter worms.
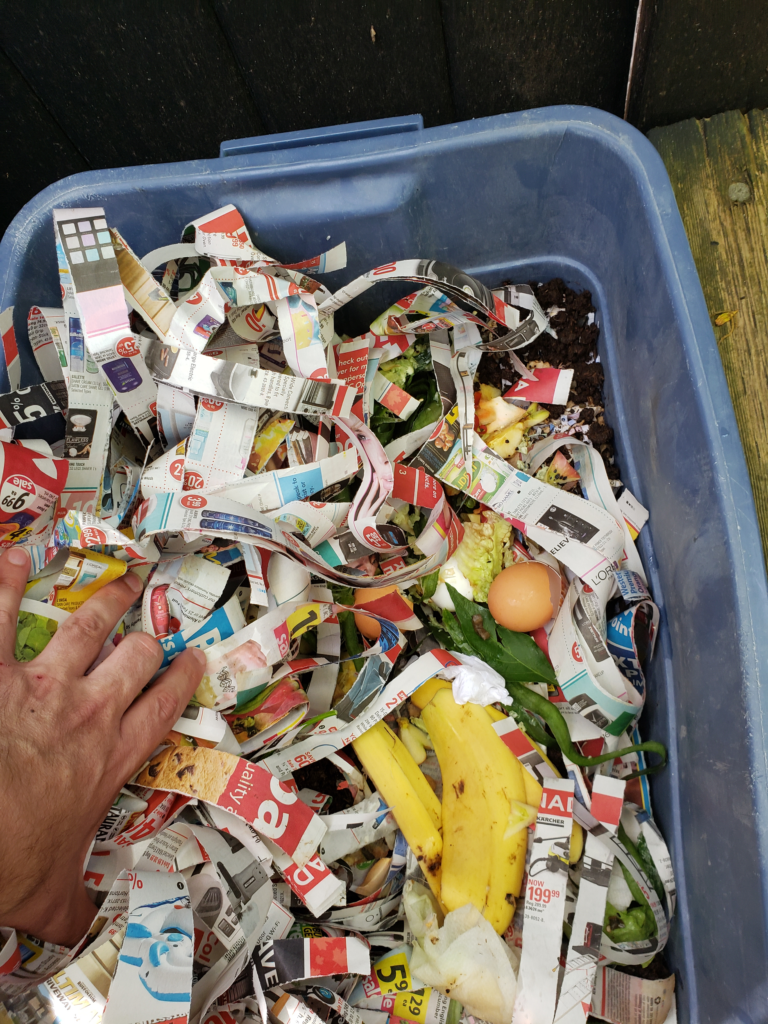
The worms are then fed with any left overs that come from your kitchen and garden. Literally anything. If you are in an area with lots of rats and other such things, you should be careful of the meat and dairy and bones and things, but they won’t cause harm to your bin if added in moderation. And as a bonus, the bones get very clean and start to dry out nicely in preparation for them being ground into bone meal and added back to the bins and garden.
At this point, you’re done. Congratulations, you’ve now joined the world of home worm composting. Your gardens and garbage piles will all thank you!
On average, you should feed the worms approx. 1 lb of food per square foot of surface area of your bins per week. These bins all have around 3 square feet of surface area, so that’s about 3 lbs per week. As of this writing both bins are now up and running and going OK. They are a bit buggy (mostly fruit flies), probably not enough bedding on top. The 2nd lid should be finished this week, if I can remember to cut the wood at work!
And I’d like to thank Bintoro Gunadi at Burnaby Red Wigglers! I bought some compost from him for the garden before I had started the bins, and also bought the starter worms and compost when I restarted the first bin. He’s a world-renowned expert and the lower mainland is lucky to have him around! His page is a wealth of information if you need to know more about your bins and worms.
Fall 2020 Sad Update: It was … decided … by my family that they didn’t want worms. Period. So they got rid of them.