New Vaporizer, from a kit!

DNA75c Boxmod, Exterior

Brian’s boxmod* was starting to be unreliable, and since I’d had my eye on a DIY kit, we figured now was the time.

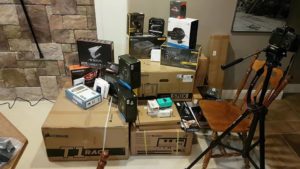
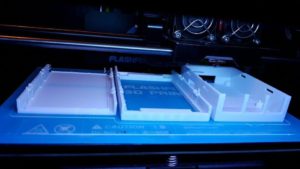
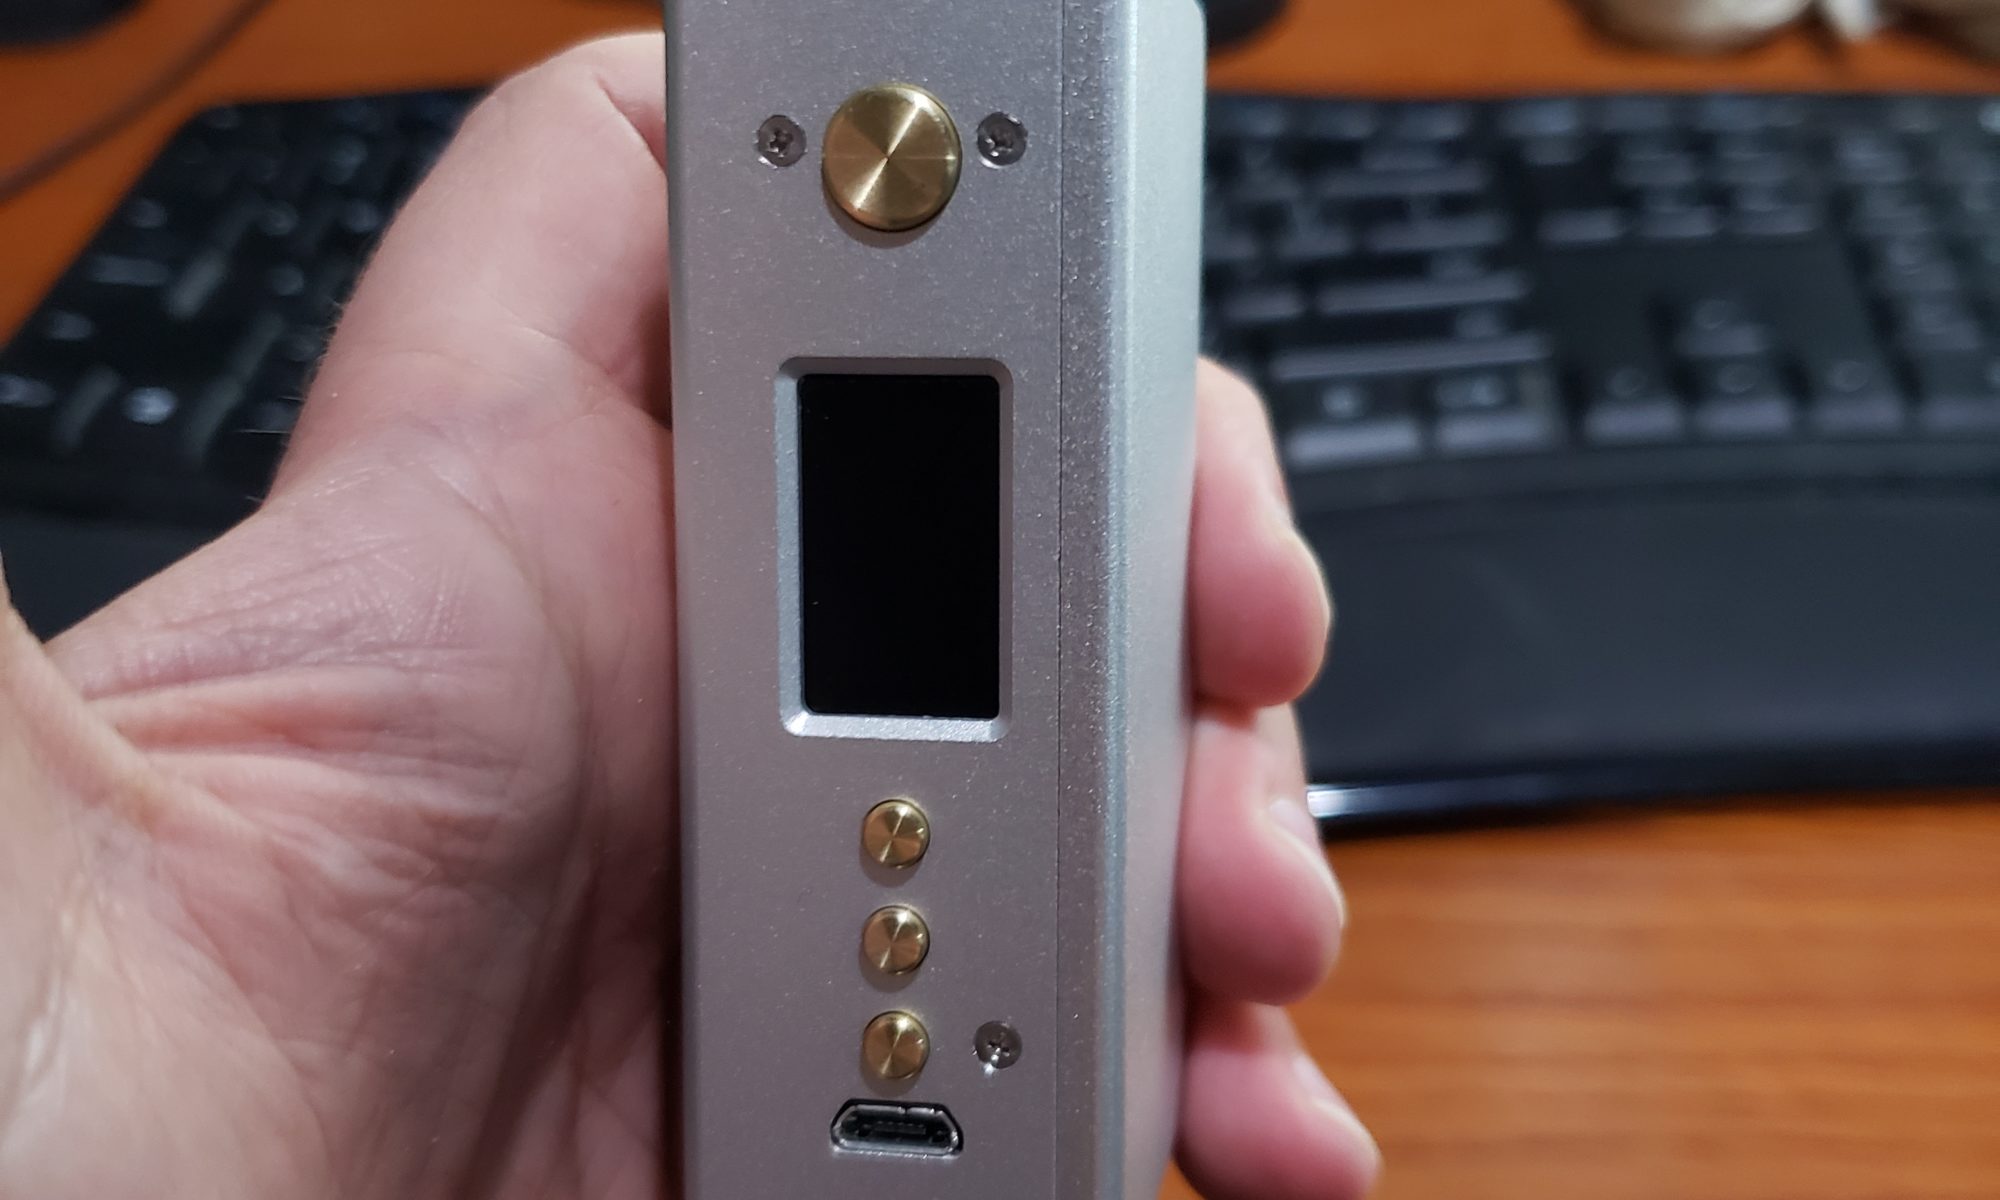
I’ve been looking at this 75W boxmod kit from Analog Box Mods, so I spec’d one out. It was packed and shipped well within 24 hours, perhaps even the same day I ordered it, and arrived very quickly. Everything was exactly as ordered.

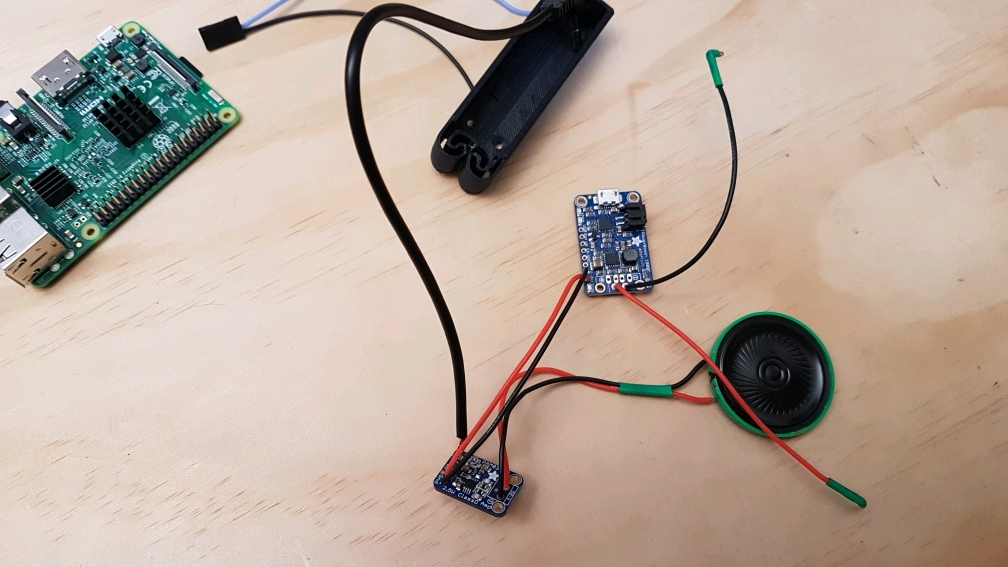
There are really only 8 things to solder:

  • 510 pads on the board +/gnd,
  • 510 center positive,
  • 510 ring negative,
  • battery pads on the board +/-,
  • battery terminals +/-.

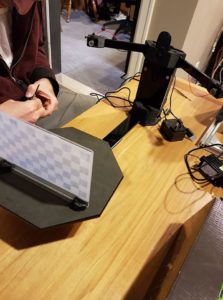
I soldered to the battery terminals first, got them mounted and measured and cut the wires. I screwed this part up for the positive wire and had to cut a bit more off later, but at least I didn’t screw up and make it too short!

The 510 ring was fairly easy to solder, although I think I made it harder on myself for that one by tinning before inserting the wires. It’s probably neater to flux everything and mount the wire through neatly and then solder them together from the bottom. I did it from the top this time, which works but I had to trim the excess off. It would look nicer if it was soldered from the bottom first and then the excess trimmed off.

The 510 center was a bit of a pain, took 2 tries to get it working. Lots of flux down the hole, lots of flux on the wire (cut short to fit with maybe a little exposed), then insert and solder. Not fun, the metal surfaces are small, but it is working OK so far after the 2nd time. The first time pulled out, so that’s no good.

I also had that same wire detach from the board side as well, so it needed some extra attention too.

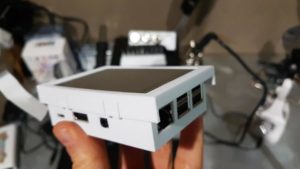
I cut the wires longer than was strictly necessary, but I think the compromise worked out fine in the end.

DNA75c Boxmod, Interior
Inside AnalogBoxMod’s DNA75c 18650 finished kit. With a Saionara Top Airflow Quartz Bucket atomizer.

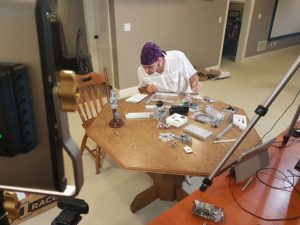
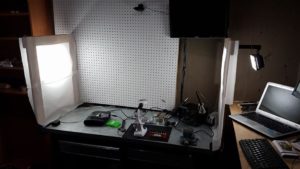
I didn’t take any pictures during the soldering, I still find that task rather tedious and I’m especially bad at the pad soldering on boards, so I didn’t think to stop and take any pics, sorry.
*Boxmod: the [usually] box that holds the batteries and control boards for electric vaporizers/e-cigs/whatever you call them.

What’s been happening?

Hello makers!

We’ve been quite busy working on the various systems and locations and hardware, but we’ve been very negligent in sharing that on here. I figure I should fix that at least a little bit by posting an update of what we’ve been doing!

After our initial planning stages, when the first round of funding was secured, we proceeded to purchase the various bits-and-pieces we’d need to get started.

Pile Of Shipping Boxes
Pile of boxes to be unboxed!

Part of the early work involved testing some hardware to satisfy a need a client had, which involved a CNC and lasers… Of course we said yes!

Adam building the CNC.
Adam putting together the DIY CNC.

I [Adam] also needed a place to work, both on computers and with a physical hacking workbench. We got to work fixing the shed up with the necessities

Shed Workbench
Shed Workbench

Shed Workstation
Shed Workstation

One of the more exciting pieces of hardware we’ve acquired are a pair of Cowtech 3d Scanners. They’re not fully configured yet (there’s simply been other priorities, and their home isn’t ready yet either), but they sure are full of exciting possibilities!

Cowtech 3D Scanner Boxes
Cowtech 3D Scanners

3d Scanner Config
3d Scanner Config

And of course there are the raspberry pis. So, so many raspberry pis!

Running Raspberry Pi

And if you’re using RPI’s, you’ll probably need a case… So Brian set to work designing a case for our projects:

Facebook video of case being printed

Pi Case V3, Design
Pi Case V3, Design

Pi Case V3, Printing

Pi Case V3, Finished

With that success, Brian decided to get phancy. I 100% approve:

Cobold Pi Case, Bottom design

Cobold Pi Case, Top design

Cobold Pi Case, design

Cobold Pi Case, finished

Not to neglect the shop (aka garage), we’ve been working hard there too. First it had to be cleaned and the various bits-and-pieces sorted. Then we started to place things in their initial locations to get them functional. That resulted in the computer rack and CNC with it’s computer being setup in the back corner and near the stairs.

Shop corner with rack and cnc shelf
Shop Corner, with rack and CNC shelf

But the shop also needs a workbench. Brian sat down and designed one, then we went out and bought the supplies and built it over the course of 2 days.

ShopBench Design Image
ShopBench design image.

I think it turned out OK!

ShopBench under construction

Finished ShopBench
Finished ShopBench

There are also other spaces and places to be created, like the Puzzle Table, for example:

Puzzle Table Mockup
Puzzle Table Mockup

Puzzle Table Clamps
Puzzle Table Clamps

And that’s just the physical stuff. We’ve also been hard at work with the network infrastructure, further studio building (kitchen/bar studio almost done!), and other business stuff. Stay tuned!